
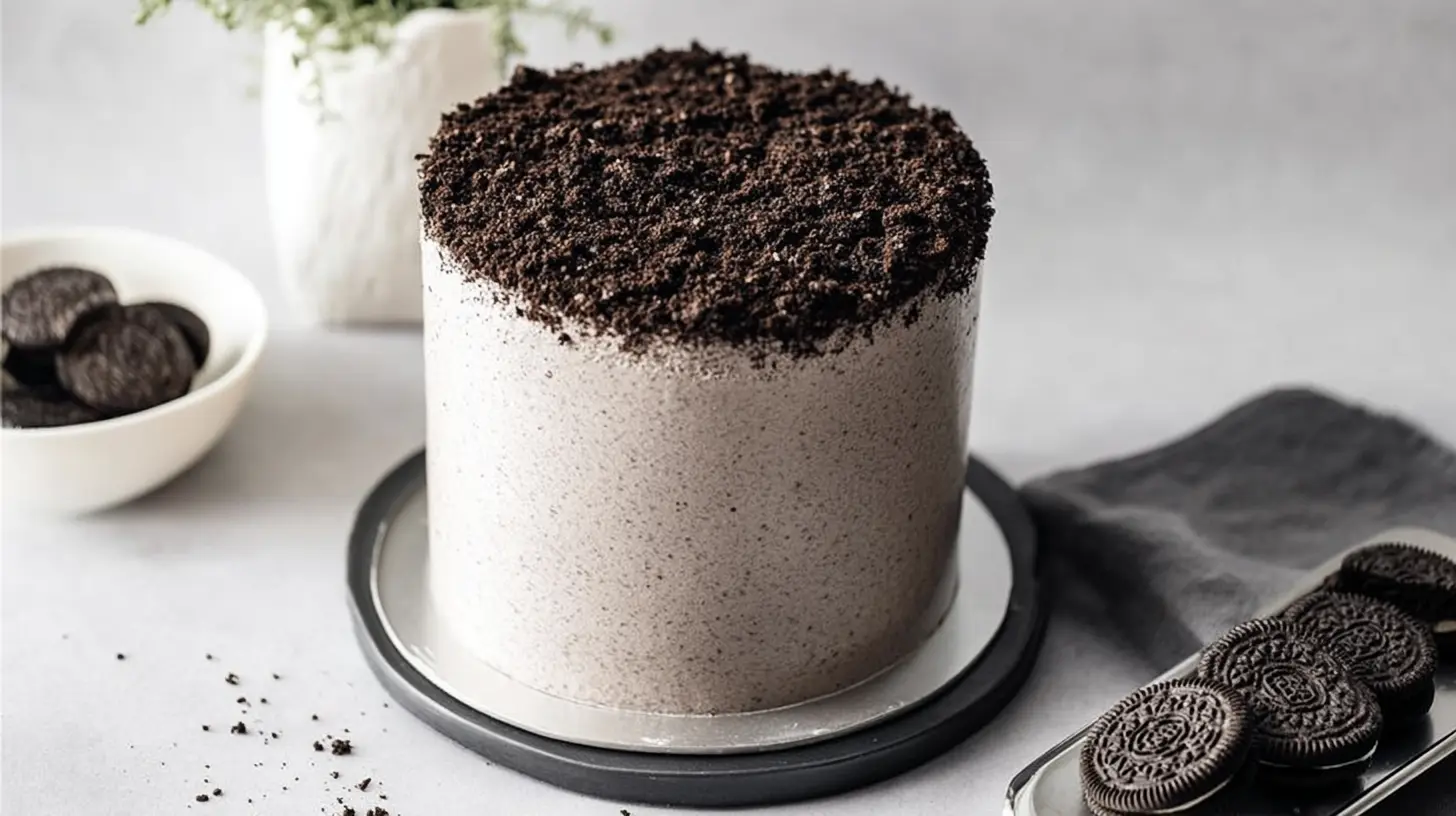
I’ll never forget the first time I stumbled upon the concept of a 2-ingredient Oreo cake. It felt like uncovering a culinary secret – how could something so simple promise such deliciousness? My initial skepticism quickly melted away with the first incredible bite. This isn’t just a dessert; it’s a revelation, a testament to the fact that sometimes, the most extraordinary things come from the fewest ingredients. It’s perfect for those sudden sweet cravings or when you need a quick crowd-pleaser without all the fuss.
Why You’ll Be Obsessed with This Cake
Imagine whipping up a genuinely delightful cake with just two items from your pantry. That’s the magic of this Oreo Cake. It’s a dream come true for busy weeknights when you need a dessert fix fast, or when you have unexpected guests and want to impress with minimal effort. This recipe is incredibly budget-friendly, making it a fantastic option for students or anyone looking to save a few pennies without sacrificing flavor. Plus, it’s a brilliant way to get kids involved in the kitchen – they’ll love crushing the Oreos and watching the transformation!
> “Honestly, I thought it was too good to be true. Two ingredients? But wow, this Oreo cake delivers! It’s so rich and decadent, and the fact that it’s so easy means I’ll be making it again and again.” – A Happy Baker
Preparing Your 2-Ingredient Oreo Cake
You’re just a few simple steps away from enjoying a rich, chocolatey, and incredibly moist cake. The beauty of this recipe lies in its straightforward nature, making it accessible to even the most novice bakers. There’s no complex mixing or delicate folding involved – just pure, unadulterated baking fun. You’ll start by transforming the classic crunchy cookies into a cake-like batter, and then let your microwave or oven do the rest of the work.
What You’ll Need
- Oreos: One family-size package (about 36 cookies). The star of our show, providing both the chocolatey base and the “flour” for our cake.
- Milk: Approximately 1 ½ cups. Whole milk works best for richness, but any milk will do.
Directions to Follow
- Crush the Oreos: Place all the Oreos (filling and all!) into a large zip-top bag. Use a rolling pin or the bottom of a sturdy glass to crush them into fine crumbs. Alternatively, you can use a food processor for an even quicker and finer crumb.
- Combine with Milk: Pour the crushed Oreos into a medium-sized mixing bowl. Gradually add the milk, stirring continuously until you have a smooth, thick batter with no lumps. It should be the consistency of a traditional cake batter, pourable but not watery.
- Prepare for Cooking: Lightly grease a microwave-safe mug (for a single serving) or an 8×8 inch baking dish (for a larger cake).
- Cook It Up (Microwave Method): Pour the batter into your prepared mug or dish. For a mug cake, microwave on high for 1-2 minutes, checking for doneness. For a larger cake in an 8×8 dish, microwave on high for 5-8 minutes, or until a toothpick inserted into the center comes out clean. Cooking times will vary depending on your microwave’s wattage.
- Cook It Up (Oven Method): If using an oven, preheat to 350°F (175°C). Pour the batter into your greased 8×8 inch baking dish. Bake for 20-30 minutes, or until a toothpick inserted into the center comes out clean and the edges are lightly golden.
- Cool and Serve: Let the cake cool slightly before digging in.
Best Ways to Enjoy It
This Oreo cake is fantastic on its own, but a few simple additions can elevate it further. A dollop of whipped cream is always a classic choice, or a scoop of vanilla bean ice cream will provide a delightful contrast in temperature and texture. For an extra chocolatey punch, drizzle some chocolate syrup or a warm ganache over the top. Don’t forget a sprinkle of extra crushed Oreos for garnish!
Keeping Leftovers Fresh
If by some miracle you have any leftover Oreo cake, you can store it in an airtight container at room temperature for up to 2 days, or in the refrigerator for up to 4 days. When you’re ready to enjoy it again, a quick zap in the microwave for 15-30 seconds will warm it through and restore some of its fresh-baked moistness. Due to the milk content, freezing isn’t typically recommended for this specific recipe as it can alter the texture.
Pro Chef Tips
- Finely Crush Those Oreos: The finer the crumbs, the smoother and more cake-like your final texture will be. Any larger chunks might result in a slightly gritty cake.
- Don’t Overmix: Once the milk is incorporated and there are no dry spots, stop mixing. Overmixing can lead to a tougher cake, even with just two ingredients!
- Adjust Milk as Needed: Different brands of Oreos or even slightly varying cookie sizes can affect absorption. Start with 1 cup of milk and add more gradually until you reach a pourable cake batter consistency.
- Testing for Doneness: When microwaving, watch carefully as this cake cooks quickly. It’s done when it’s firm to the touch but still slightly springy. Overcooking will make it dry.
- Add a Pinch of Baking Powder (Optional): While not strictly a ‘2-ingredient’ cake anymore, adding ½ teaspoon of baking powder with the milk can give the cake a slightly lighter, airier texture, if that’s what you prefer.
Creative Twists
While the classic 2-ingredient version is fantastic, you can certainly play around with different flavors:
- Mint Oreo Cake: Use mint-flavored Oreos for a refreshing twist.
- Golden Oreo Cake: Swap regular Oreos for Golden Oreos and pair with vanilla milk for a lighter, vanilla-based cake.
- Coffee Infusion: Replace ¼ cup of the milk with strong brewed coffee for a subtle mocha flavor.
- Extract Magic: A few drops of vanilla extract, almond extract, or even peppermint extract can add another layer of flavor without much effort.
- Kid-Friendly Fun: Stir in some chocolate chips or sprinkles before baking for a more festive treat.
Your Questions Answered
Can I use any type of Oreo cookie?
A: Yes, you can! While classic Oreos are used in the original recipe, many people have successfully made this cake with Double Stuf, Golden, Mint, and other flavored Oreos. The key is that they’re a sandwich cookie with a cream filling, which contributes to the cake’s moistness.
Why does this recipe work with only two ingredients?
A: The magic lies in the Oreos themselves. The cookies provide the “flour” and chocolate flavor, while the cream filling contains fats and sugars, which help with moisture and structure. The milk acts as the liquid and activates some of the natural leavening (from the baking soda in the Oreos) when heated, giving the cake its rise.
Can I make this a gluten-free or dairy-free cake?
A: For a gluten-free version, you would need to use gluten-free sandwich cookies (such as gluten-free Oreos). For dairy-free, use a non-dairy milk alternative (like almond, soy, or oat milk). Both substitutions work well, maintaining the integrity of the recipe.
Decadent Oreo Celebration Cake
Equipment
- Oven
- Round cake pans
- Large bowl
- Electric mixer
- Wire rack
Ingredients
For the Cake
- 2 cups all-purpose flour
- 1 ¾ cups granulated sugar
- ¾ cup unsweetened cocoa powder Dutch-processed
- 1 teaspoon baking soda
- ½ teaspoon baking powder
- 1 teaspoon salt
- 1 cup buttermilk
- ½ cup vegetable oil
- 2 large eggs
- 1 teaspoon vanilla extract
- 1 cup hot water or freshly brewed hot coffee
For the Oreo Buttercream
- 1 cup unsalted butter softened
- 4 cups powdered sugar sifted
- ¼ cup milk or heavy cream
- 1 teaspoon vanilla extract
- 20-25 Oreo cookies crushed (about 2 cups)
Instructions
Cake Preparation
- Preheat your oven to 350°F (175°C) and prepare two 8 or 9-inch round cake pans by greasing and flouring them or lining with parchment paper.
- In a large bowl, whisk together the flour, sugar, cocoa powder, baking soda, baking powder, and salt.
- In a separate medium bowl, whisk together the buttermilk, vegetable oil, eggs, and vanilla extract.
- Pour the wet ingredients into the dry ingredients, mixing on low speed with an electric mixer until just combined.
- Gradually add the hot water or coffee, mixing until the batter is smooth; note that the batter will be thin.
- Divide the batter evenly between the prepared cake pans and bake for 30-35 minutes, or until a wooden skewer inserted into the center comes out clean.
- Let the cakes cool in the pans for 10 minutes before inverting them onto a wire rack to cool completely.
Oreo Buttercream Preparation
- While the cakes cool, beat the softened butter in a large bowl with an electric mixer until light and fluffy.
- Gradually add the sifted powdered sugar, alternating with milk or cream, beating until smooth and creamy.
- Stir in the vanilla extract.
- Crush 20-25 Oreo cookies in a Ziploc bag with a rolling pin until you have a mix of fine crumbs and small chunks.
- Fold the crushed Oreos into the buttercream.
Assembly
- Once the cakes are completely cool, place one layer on your serving plate and spread about one-third of the Oreo buttercream evenly over the top.
- Place the second cake layer on top and frost the top and sides of the entire cake with the remaining buttercream.
- Decorate the cake with additional crushed Oreos or whole cookies if desired.